Sportster Maintenance Tips:
In this Sportster maintenance video you'll learn how to:
- disconnect the battery
- check the charging system
- check electrical switches, lights, turn signals etc.
- how to drain the fluids.
The full length DVD has much better video and audio quality, and it shows you all kinds of Harley maintenance tips and techniques to maintain your own Sportster and save lots of money.
Press Play in the lower left corner or the middle of the screen of this Sportster Maintenance video below.
Transcript and Pictures From The Sportster Maintenance Video Clip Above:
Alright the first thing I going to want to do in this services is to check the charging system; that way if there's a problem we're not going to have to go back into some of the fluids we'd replace to fix it. So what we'll do is first take off this side cover:
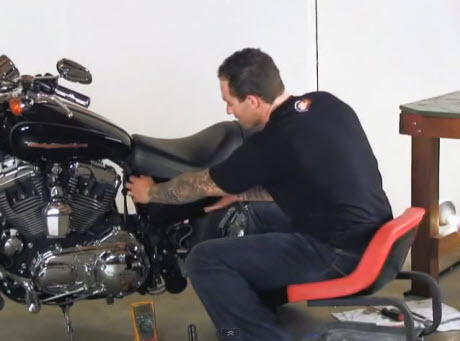
It's just a matter of pulling it. It's held on by locking tab and it will give us access to the battery. And what I'm going to do is I have my voltage meter sets on volts DC or direct current. I'm going to put the negative up to a known ground and then I'm going to hold the positive side on the positive part of the battery; which is right here, that's going to give us our battery voltages which is 12.99:
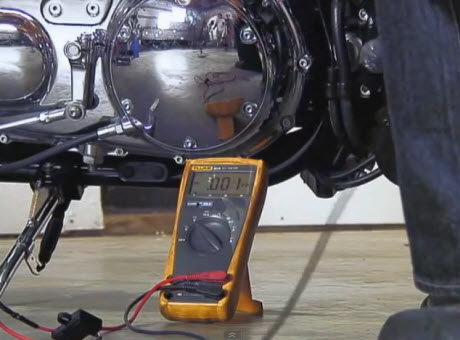
Now as I turn on the bike it's going to drop because it's going to pull from it. And then as we fired up we're going to see what the charging system is putting back out to the battery; ok charging systems is looking good so we'll continue on.
Before disconnecting battery you want to make sure all of our electoral switch is working and all of our lights work; so I'm going to turn the key back on, we going to check our turn signals, check our brake lights, fronts switch, back which, check our high beams and our horn; perfect, good.
Now that all of those are working we're going to go ahead and disconnect the battery. This bike just happens to be a 2004, 2004 and later models the battery is pushed into this cavity of the bike, what we're going to need to do to remove the negative terminal, because it's on the far side of the battery is disconnect this strap and pull it out of the way:
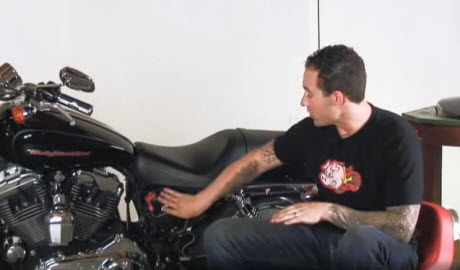
So I'm going to take a seven-sixteen socket and remove this bolt that holds the straps. Now that strap pull the bottom of the battery out of the ways and remove the negative terminal. Okay now you just want to make sure that terminal is out of the way of that battery post so as to not have any accidental touching of it while you're working on the bike.
Alright now what we going to do is start draining the fluids from the bike. Now unlike a big twin this bike only has two compartments for oil. You only have the primary and the transmission which are combined, and your primary is this giant cover right here, it's wet transfer the power from the engine to the transmission.
So we're going to drain that and then we're going to drain our engine oil. If you look down at this mirror here you can see towards the bottom a drain plug at our primary (note that you are looking in mirror that is underneath the bike in this picture and the next one below):
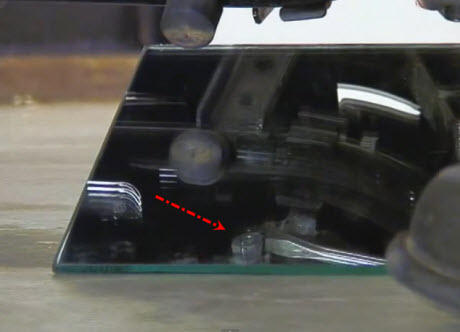
That's going to drain the primary/transmission fluid.
And then there will be a clamp in this area:
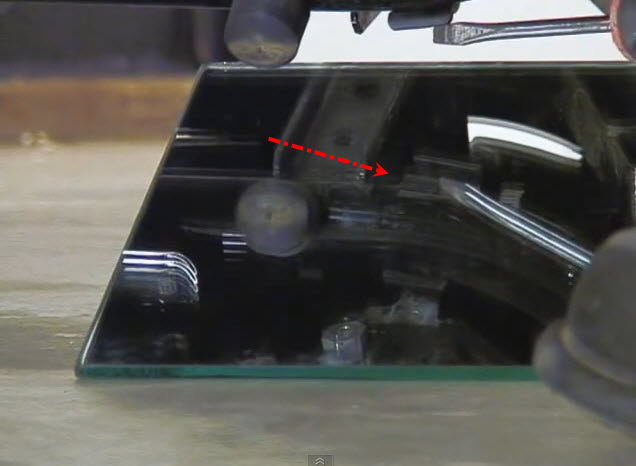
If we pull this clamp off it's going to be attached to a drain hose that's going to drain our oil tank.
So without further delay we can pop the worm clamp off. Here you can see our drain hose:
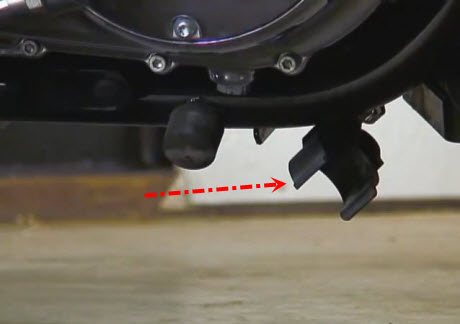
So I'm going to remove our worm clamp and I'm going to pull that five-eighths drain plug and let this guy sits and drain.
Recommended:
- To get a Harley Davidson motorcycle maintenance video (DVD) for your particularHarley Davidson click here.
- If you want to build your own motorcycle, these bike building videos are the best and only comprehensive chopper building videos (DVD) on the market, bar none. Guaranteed.
- Motorcycle Storage Tips.

