Transform Your Trail Bike Into a Street Scratcher!
The Dark Art of The Street Sleeper.
Without too much effort you can turn your mild-mannered trail bike into a tarmac carving street scratcher. Interested? Of course, you are.
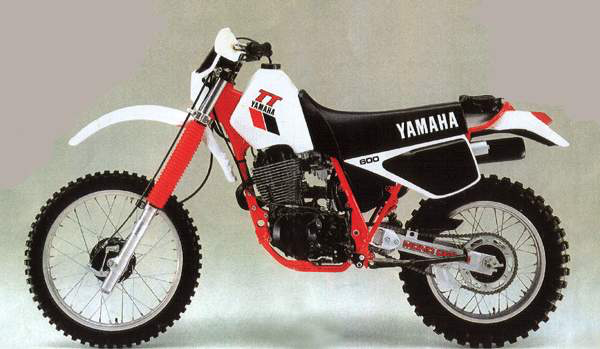
Trail bikes are fun. Ride down the highway to your favorite piece of greenery and keep going.
When you get the dental bill for those loose fillings though, consider this.
By their very nature, trail bikes are generally single cylinder models or twins at most. They’re invariably lightweight, have excellent ground clearance and come with a minimal amount of bells and whistles. Unfortunately, the suspension is by enlarge on the squishy side, but they are built to take the knocks.
Some of these attributes will suit our conversion, while others will be taking a one-way trip to the parts bin. Without further ado, let's get going.
Badass Conversion
We can divide the conversion into two parts; mechanical and cosmetic. The former is essential to complete our task, while the latter will simply make the finished product look more badass, which is never a bad thing.
One of the most basic differences between a trail bike and say for instance a sports bike, is wheel size, and the tires they roll on. The wheels are therefore the place to start.
Generally, a traily will have a 21’’ at the pointy end and a 17’’ bringing up the rear. For our purposes, the skinny front hoop is no use, and although the rear is the right wheel diameter, It’s probably going to be no wider than a 130, once again, too narrow.
Quality Rubber
The general idea is to get as much quality rubber on the ground as possible within reason. We have the limiting factors of clearance to consider especially in the rear. To achieve this, we must change both rims.
The best way to demonstrate why, and how is to pick a bike and go through the conversion. As always this is just for demonstration purposes and the basic elements should apply to most motorcycles.
So, let's choose Kawasaki’s well-loved green laner, the KLR650. As standard, it wears a 90/90-21 in the front and a 130/80-17 rear. Just by looking at the numbers we can see straight away that not only is the front skinny, but it's almost as wide as it is high (90/90 = width and height ratio). This ratio means it has a small square profile.
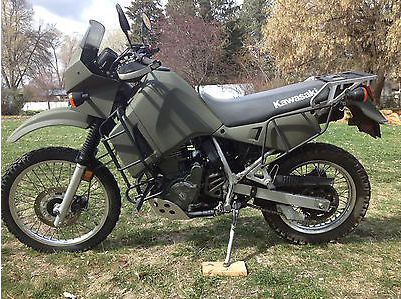
17" Rims
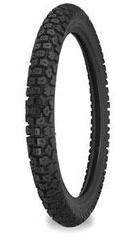
The rear tire isn't quite as bad, but it still has a blocky profile. Plus, of course, it's running trail tires. To maximize the bike’s handling potential, we need new rims in sizes 17x3.5 front and 17x4.25 rear.
You can either buy the rims and get them laced to your existing hubs or buy complete wheels ready to go. The only differences being, cost and look.
With these new rim sizes, we can now fit some wider rubber, so that translates to a 120/70-17 front and 150/60-17 rear.
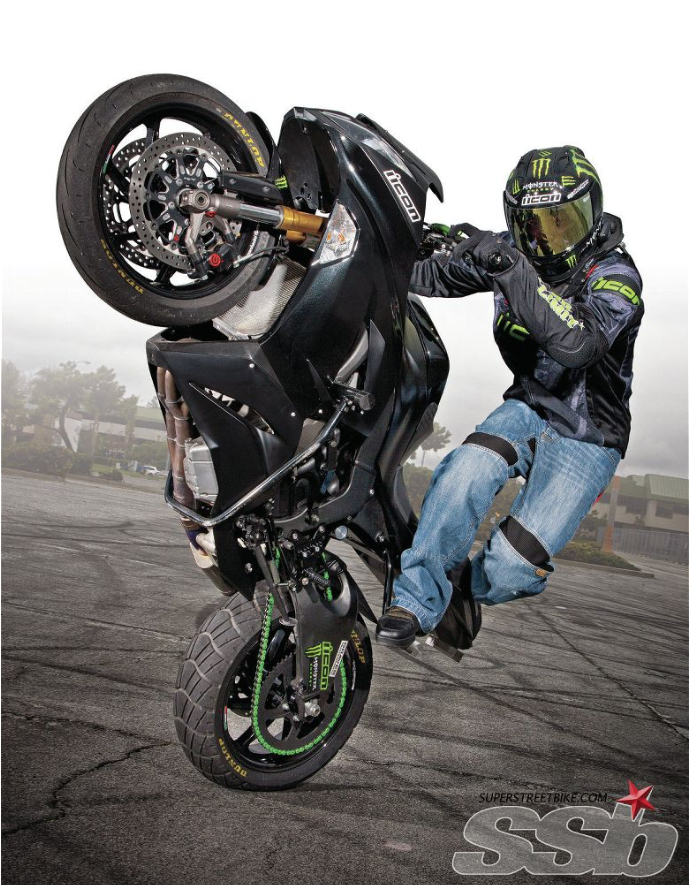
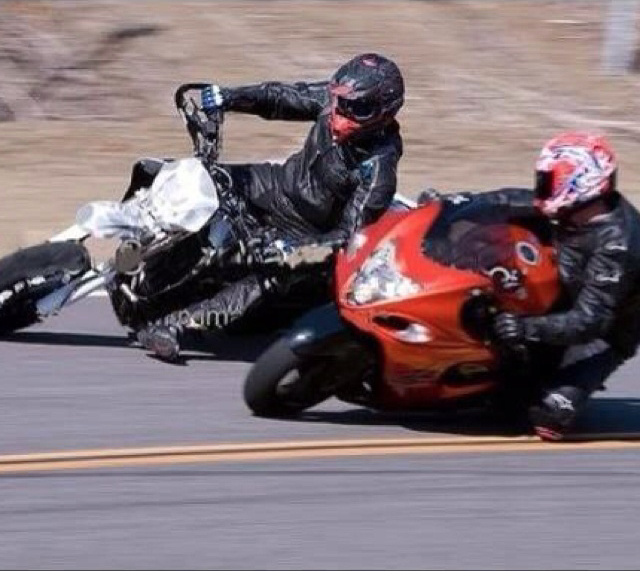
Just to hammer home the difference made already, you now have a front wheel the same as Kawasaki’s 180mph 636. The profile of the rear tire has gone from almost square to very rectangular.
And what does all this mean? Simply, that your bike is going to keep tread on the road at far greater lean angles, so you’d better get some knee sliders for your helmet!
Tires
Choice of tire will depend entirely on you; more grip fewer miles, more miles, slower warm up time, etc. Suffice to say, with the new wheel sizes you can choose from some of the best street tires on the market. Choice include, Dunlop Qualifier, Continental ContiAttack, Michelin Pilot Power and Bridgestone BT003 to name but a few.
Although you haven’t done anything to alter the performance of your bike as yet, it will still feel quicker going through the bends. It is now time to improve the brakes, front and back.
Here, you have the choice to either upgrade the brake rotors or go the whole hog and get new rotors and matching calipers. For rotor only, you need to increase the rotor size, and to do that you will also need an adaptor to relocate your stock caliper.
Rotors and Calipers
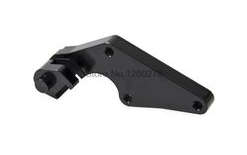
Go for the brake rotor and caliper combo and obviously the larger diameter rotor will have been allowed for in the caliper. Either choice needs a new stainless steel brake line. Companies such as Moto-master, Berringer and EBC, all supply these types of conversion kits.
As the rear wheel is still the same diameter, technically the gearing will still be the same, but you can experiment with swapping cogs. Just don’t be too radical, even one or two teeth increase on the back can make a big difference. By the way, larger rear sprocket equals more acceleration but less top end.
Suspension
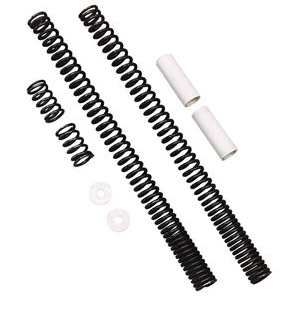
To soak up any lumps, trail bike suspension is both long travel and quite soft. With a better front brake, you may need to stiffen up the front forks to prevent fork dive. You can do this by either by increasing the weight of the fork oil or by fitting progressive springs.
While we’re at the front end, the smaller diameter front wheel will now throw the speedo out massively. So, you can either draw yourself a new clock face that allows for it (when it reads 50mph you’ll actually be traveling at 13.11mph) or go digital.
Performance
To perk up the pace a little, you may want to add a more performance orientated silencer and a less restricted air filter.
These two combined with the slightly larger rear sprocket should wake things up.
As for the cosmetic side of the conversion, no, it's not strictly necessary. But maybe a reshape and new seat upholstery, some tapered street bars and a small custom headlight would just round things off nicely.
You can, of course, turn your trail bike into a street scratcher and keep the rest of it stock looking, making it a real street sleeper. Then you can enjoy the look of disbelief on that sports bike rider’s face when he looks in his mirror and sees a trail bike on his tailpipe.
